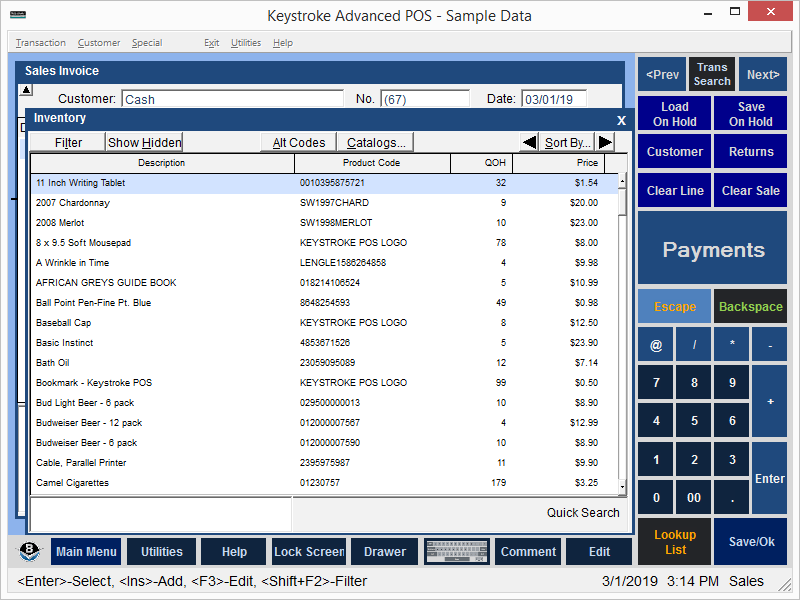
Items may be added to a Sales Transaction when the cursor is in the Description column on the Item Entry screen.
The easiest and fastest way to add an item is to scan its barcode.
Items may also by entering by manually typing in any of the following information:
- Description
- Product Code
- Stock Number
- Class
- Manufacturer
- AltID#
Press [F9] to switch between Entry Modes.
Note: If the Entry Mode is set to Stock Number and a UPC Code is scanned (i.e. a very large number is entered) the item is automatically looked item up by Product Code.
When the item information is entered, Keystroke looks up the item in the Inventory database and adds it to the Sales Transaction.
If Keystroke cannot locate an item in the Inventory database, it displays the message, "Item Not Found!".
Note: The only exception to this rule applies when entering items by typing their Description into the Description field. If the Description Check Line Item Entry Parameter is disabled, Keystroke allows non-Inventory items to be entered without displaying the "Item Not Found!..." message.
If the "Item Not Found!" is displayed, options include:
- Press [Ins] to display the Item Lookup List to help locate the item.
- Add the item to the Inventory database.
- Enter a price and description and sell the item as a non-inventory item.
See:
Item Lookup List
Items with Custom Descriptions (Using the * Character)
Changing The Quantity
Line Item Prices - Adjusting
Line Item Costs - Adjusting
Tax Codes
Delete and Insert Line Items
Sales Manager Contents